Cake pops have been all the rage in the blogesphere for a while now. I'm pretty sure we have
Bakerella to thank for these delicious little treats. The Little Witch LOVES the birthday cake pops at Starbucks but man, they get pricy!! $1.50 a pop is highway robbery when you can make an entire batch, of 40 pops, for $5 or so.
So a few weeks ago the Little Witch and I were at Starbucks. She wanted a cake pop. I caved and got her one to go with my grande Pike Place. As we were enjoying our treats I was asked a question.
"Mom, can you make cake pops?"
"I sure can sweetie!"
"What? You can? With sprinkles too?
What about the stick?" I love how she thinks she's caught me in some big fallacy and tries to call me out. Such a sassy girl!
"Stick and everything. I can make them, no problem!"
"I want you to make cake pops
TODAY Mom. Let's go to the store & get what we need!"
Now thats a girl after my own heart. So being a good Kitchen Witch I did my daughters bidding and off we went to the craft store for candy melts and pop sticks.
~*~
Disclaimer: The candy melts DO have PHO's in them. While this breaks one of my 'unapproved ingredients' rule I made the exception for these babies. If anyone knows of PHO free candy melts PLEASE let me know!! The brand I used claimed to be 'trans fat free' yet ingredient #2 was partially hydrogenated oil, so, as far as I'm concerned its unapproved. And yet I used it. So there! Rules were meant to be broken, right??~*~

I've made 2 batches of these pops, the first I used a store bought cake mix and homemade frosting, the 2nd batch was homemade cake and frosting. I have to say that the homemade cake held up a LOT better in pop form than the cake mix did. Cake mix cake is very soft and got too mushy. The homemade cake had more tooth to it, and when the frosting is mixed in made a thicker paste to work with. If you have the time I highly recommend making your own cake. And if its a bit on the dry side that's GOOD! With all the icing that's added to the cakes a dry cake tends to work better than a super moist one.
Vanilla cakeSource:
Epicuriousmakes approx. 40 pops2 cups AP flour
2 teaspoons baking powder (aluminum free preferred)
1/2 teaspoon table salt
1 stick (1/2 cup) unsalted butter, softened
1 cup sugar
3 large eggs, room temp.
2 teaspoons vanilla
3/4 cup 2% milk
Icing:
2 cups powdered sugar
1 T vanilla extract
2 T milk
3 T butter, softened
Candy melts, about 8 oz
candy sticks (available at craft stores, 50 for $2 or 150 for $4)
sprinkles
Optional: foam to stick pops in to dry, if you don't have foam then you can either hold the pops to dry (drag) or place on parchment paper (which works but makes flat spots and your sprinkles will sink into the candy coating.) Your choice!
Preheat oven to 350F. Prepare pan of choice (The Witch uses a sheet pan lined with parchment for cake pops, it bakes faster and since you're making cake crumbs the shape is not important.)
Sift the dry ingredients together in a bowl and set aside.
In the work bowl of a stand mixer whip the butter. Add the sugar and beat again until fluffy. Add the vanilla. Mix in eggs, one at a time, beating well between each addition and scraping down the sides after each addition. Add 1/3 of the milk, beat until smooth. Add 1/2 the flour and mix well. Scrape down sides and add 1/3 milk, beat well. Add remaining flour, scrape down sides and mix. Finish with last addition of milk, mixing until just smooth. Pour cake batter into prepared pan and bake until done by toothpick test method.
Icing:
In the work bowl of a stand mixer whip the butter. Once light and fluffy add the vanilla and powdered sugar. SLOWLY mix this, adding 1T of milk at a time until you have an icing consistency. Once all sugar is incorporated turn the speed to HI and whip the icing for 2-3 minutes.
 Making the cake pops:
1. Allow the cake to cool completely. The cake must be room temp or it will melt the icing and not form balls properly.
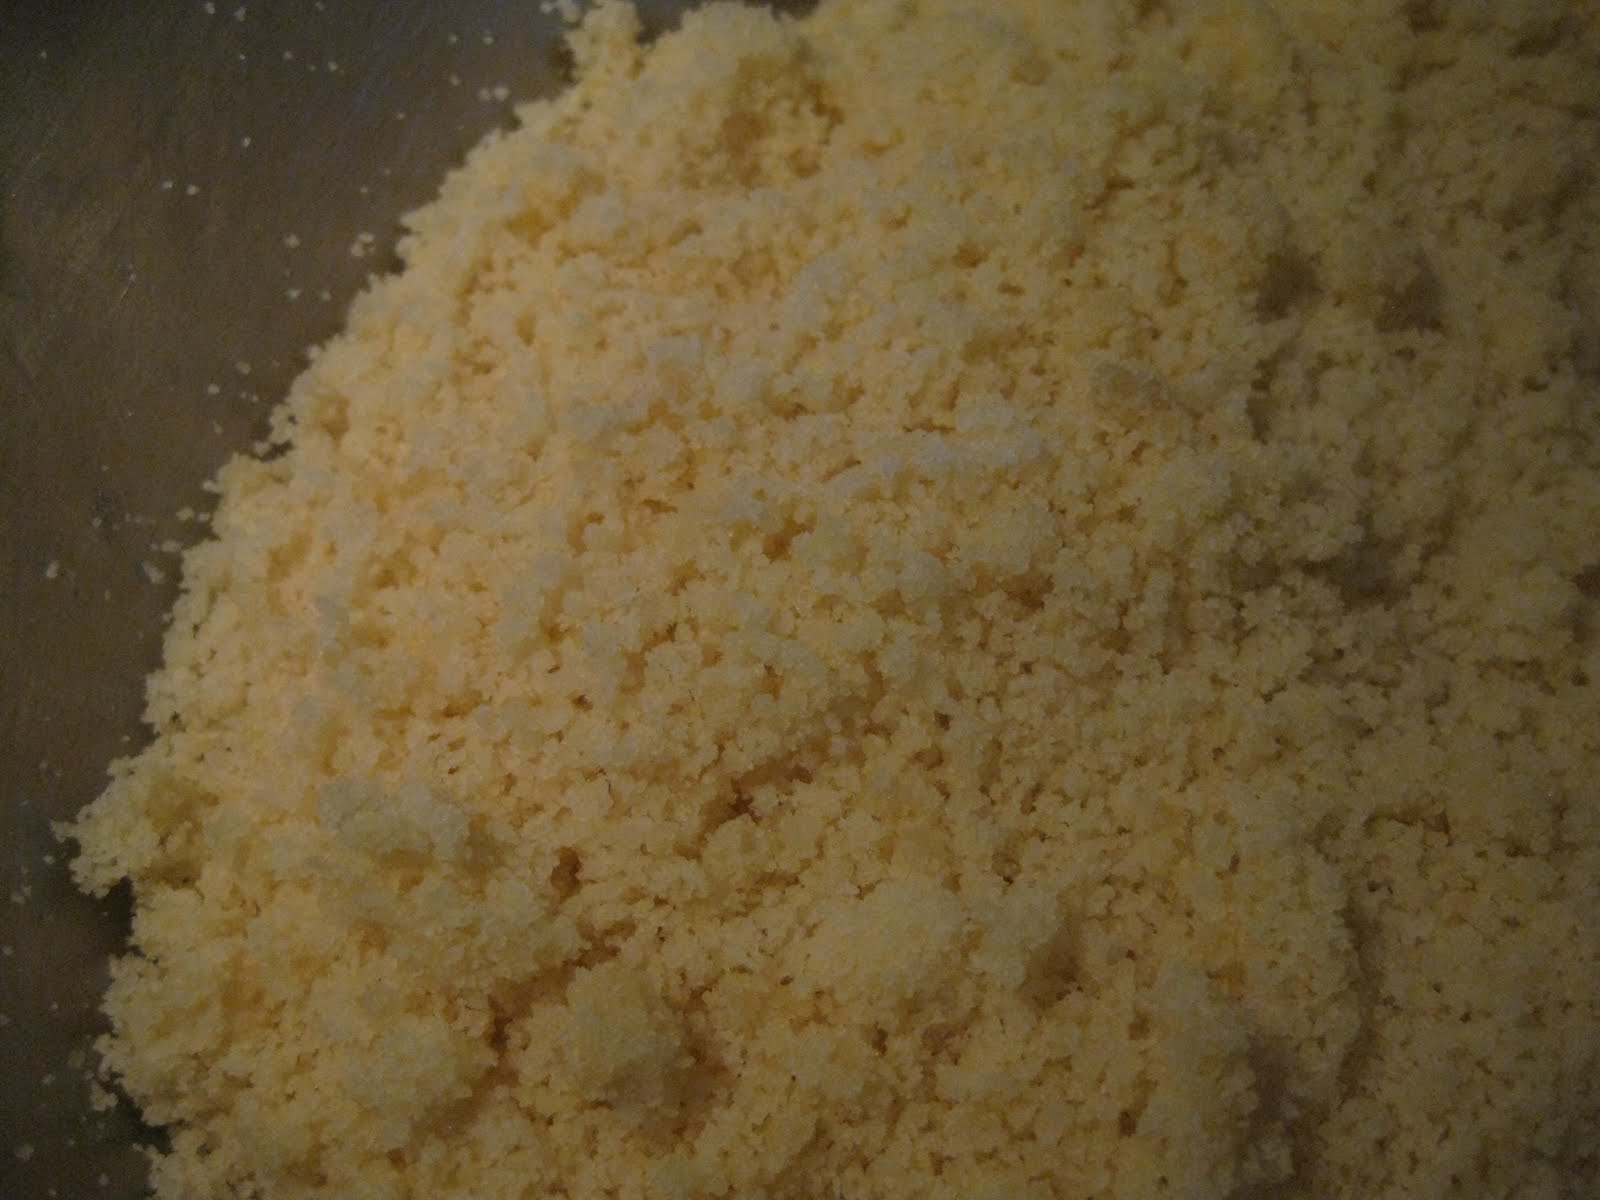
2. Crumble cake into the work bowl of a stand mixer. Yes, just crumble it up. You are going for cake crumbs. I know it seems wrong, trust me.

3. Once cake is crumbled up attach the paddle to your stand mixer and mix until nothing but crumbs remain. Any big pieces break up by hand.

4. Add 1 1/2 c icing or 1 tub of premade stuff to the cake crumbs. Mix on low speed until completely incorporated. The cake will take on the texture of play dough once its mixed properly.

5. Shape balls. The Witch uses a cookie scooper to make the balls then goes back and smooths the balls by hand.

6. Melt candy melts in microwave using 30 second bursts to melt candy melts. Stir well between heating cycles. It took about 90 seconds to melt throughly in my microwave
7. Dip sticks into melted candy melts and then place stick into cake ball. (this really helps the cake to stick to the stick)
8. Place cake balls with sticks in the freezer for 30 minutes to firm up before dipping in candy melts
9. Remove cake balls from the freezer and dip into candy melts. I like to have a spoon on hand to pour melted candy melts over the top by the stick. Swirl the pops in the melted candy and allow excess to drip off.
10. While candy melts are still wet sprinkle with sprinkles. Place cake pop into styrofoam to allow candy to harden OR place onto parchment paper to cool.
 Nutrition Facts
 provided by SparkPeople recipe calculator
40 Servings, 1 pop each
Amount Per Serving Calories 142.6
Total Fat 5.7 g
Saturated Fat 4.2 g
Polyunsaturated Fat 0.2 g
Monounsaturated Fat 1.1 g
Cholesterol 22.8 mg
Sodium 63.5 mg
Potassium 13.8 mg
Total Carbohydrate 21.1 g
Dietary Fiber 0.2 g
Sugars 16.2 g
Protein 1.3 g
 When I made eggrolls the other day we had a Thai sweet chili dipping sauce to go with it. This sauce was from the Asian market and was very flavorful, like spicy sweet and sour sauce. As we ate the eggrolls the sauce quickly depleated. Not wanting to make a special trip to the Asian market just for the Sweet Chili sauce, I decided to use my witchcraft and just make a batch to use with the last of our eggrolls.
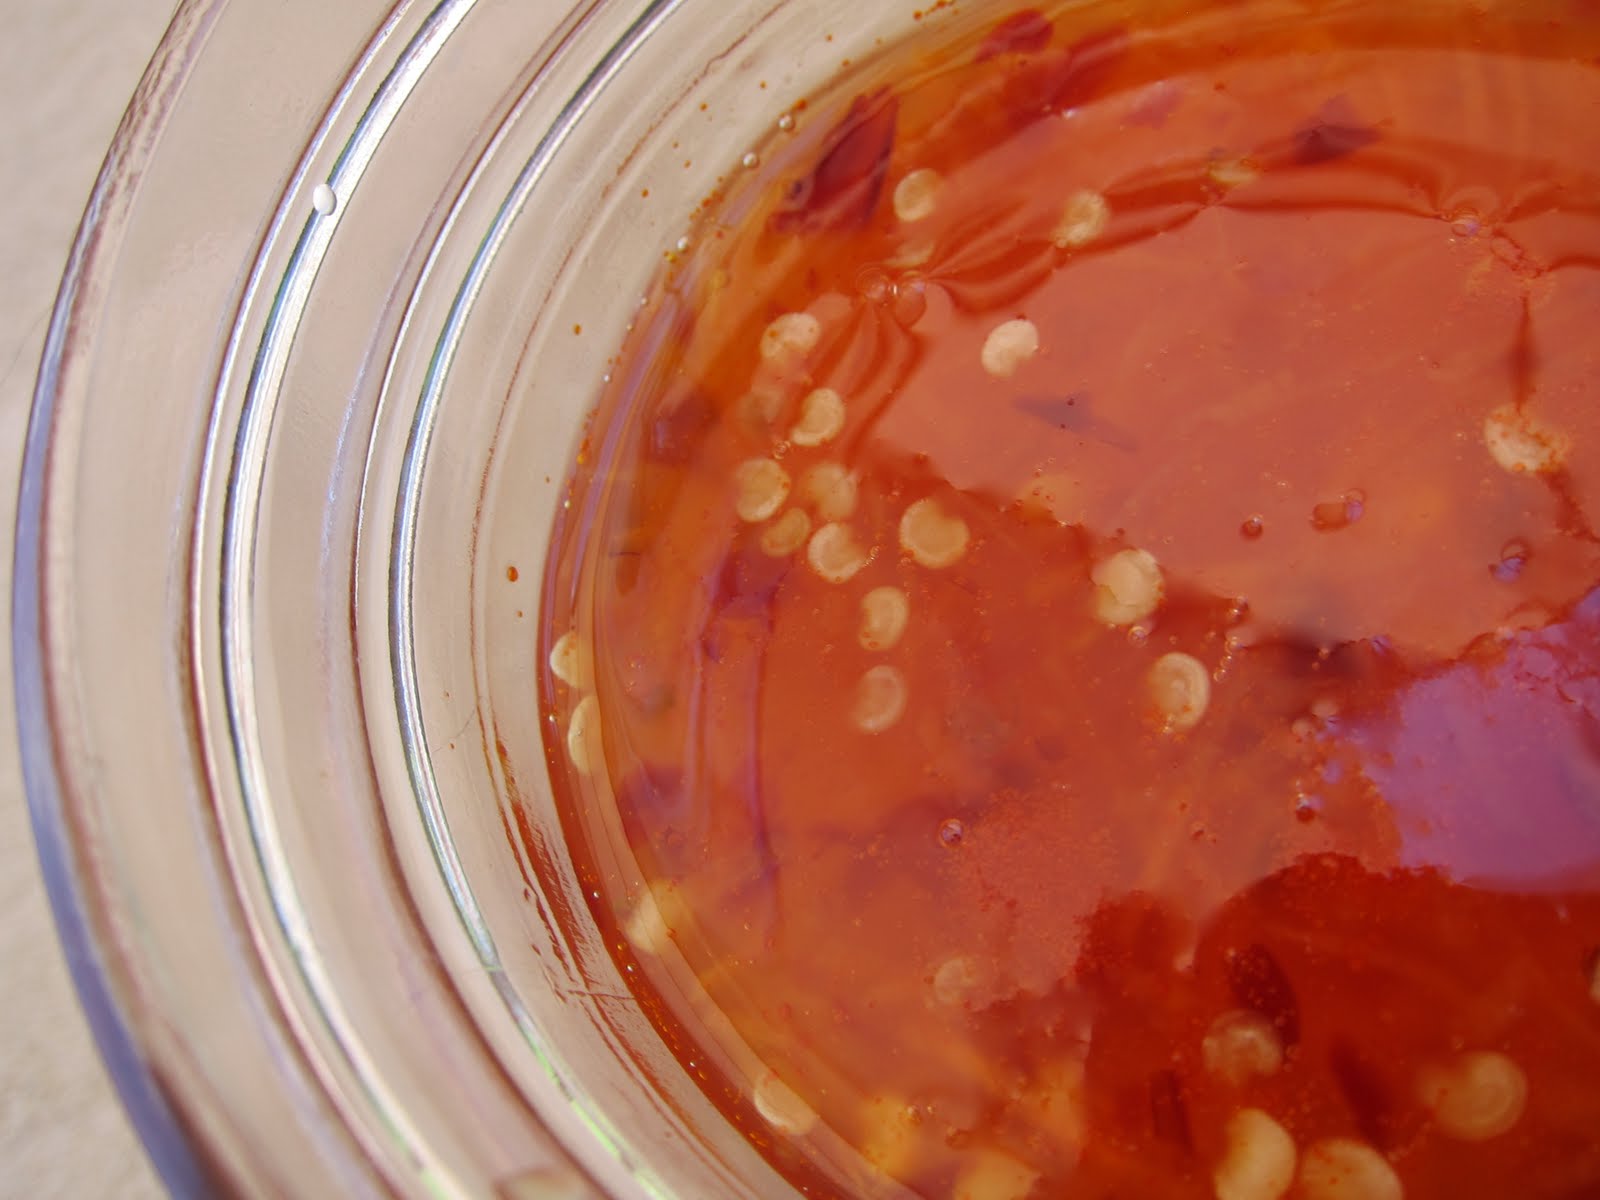

 The delightful clear noodles used in these eggrolls are bean threads. They are made from mung beans - the same bean that we get bean sprouts from. You have to soak the threads in hot water first to rehydrate them before use. They are unexpected in eggrolls, honestly these eggrolls are the only ones I've ever known to have bean threads in them. Its those bean threads that set this roll aside from others. Well that and fish sauce. Seeing as how the creator of these eggrolls is Thai descent it makes sense that she uses fish sauce in them. Fish sauce is salty and if used in large quantities can have an overpowering fishy flavor. If used judiciously it adds a nice mellow salty flavor, not at all fishy.