While browsing one of my favorite food blogs,
Home Cooking in Montana, I found the technique for velveting chicken. Ellie made Kung Pao chicken using the velveting technique on the chicken and the photos made me drool. I knew right then & there that the Kitchen Witch needed to make this. One look at Ellie's site and the Husband agreed wholeheartedly. Ellie also talks about how to precook the chicken for later use, if this is something you'd like to know more about, click on over & check out her
blog. You'll be happy you did!
After reviewing the technique I decided to tackle it. It was not hard at all! It involves a few little steps but all in all, really simple. But is all this really worth it? I mean I've been making stir fry chicken dishes for years, how can this velveting really make it better?
I don't really know is the short answer. Witchcraft is the logical answer. I'm sure a lot of science goes into it as well. All I can tell you is that it indeed is worth every single second of time you invest into it. The results will rival those of your favorite Chinese restaurant. Chicken so soft, so tender, so juicy that its almost unreal. How can a simple 30 minute marinade and a quick plunge into simmering water transform a lowly chicken breast into this dish of greatness? Who cares, so long as it does. And it does lovely readers, oh it really does.

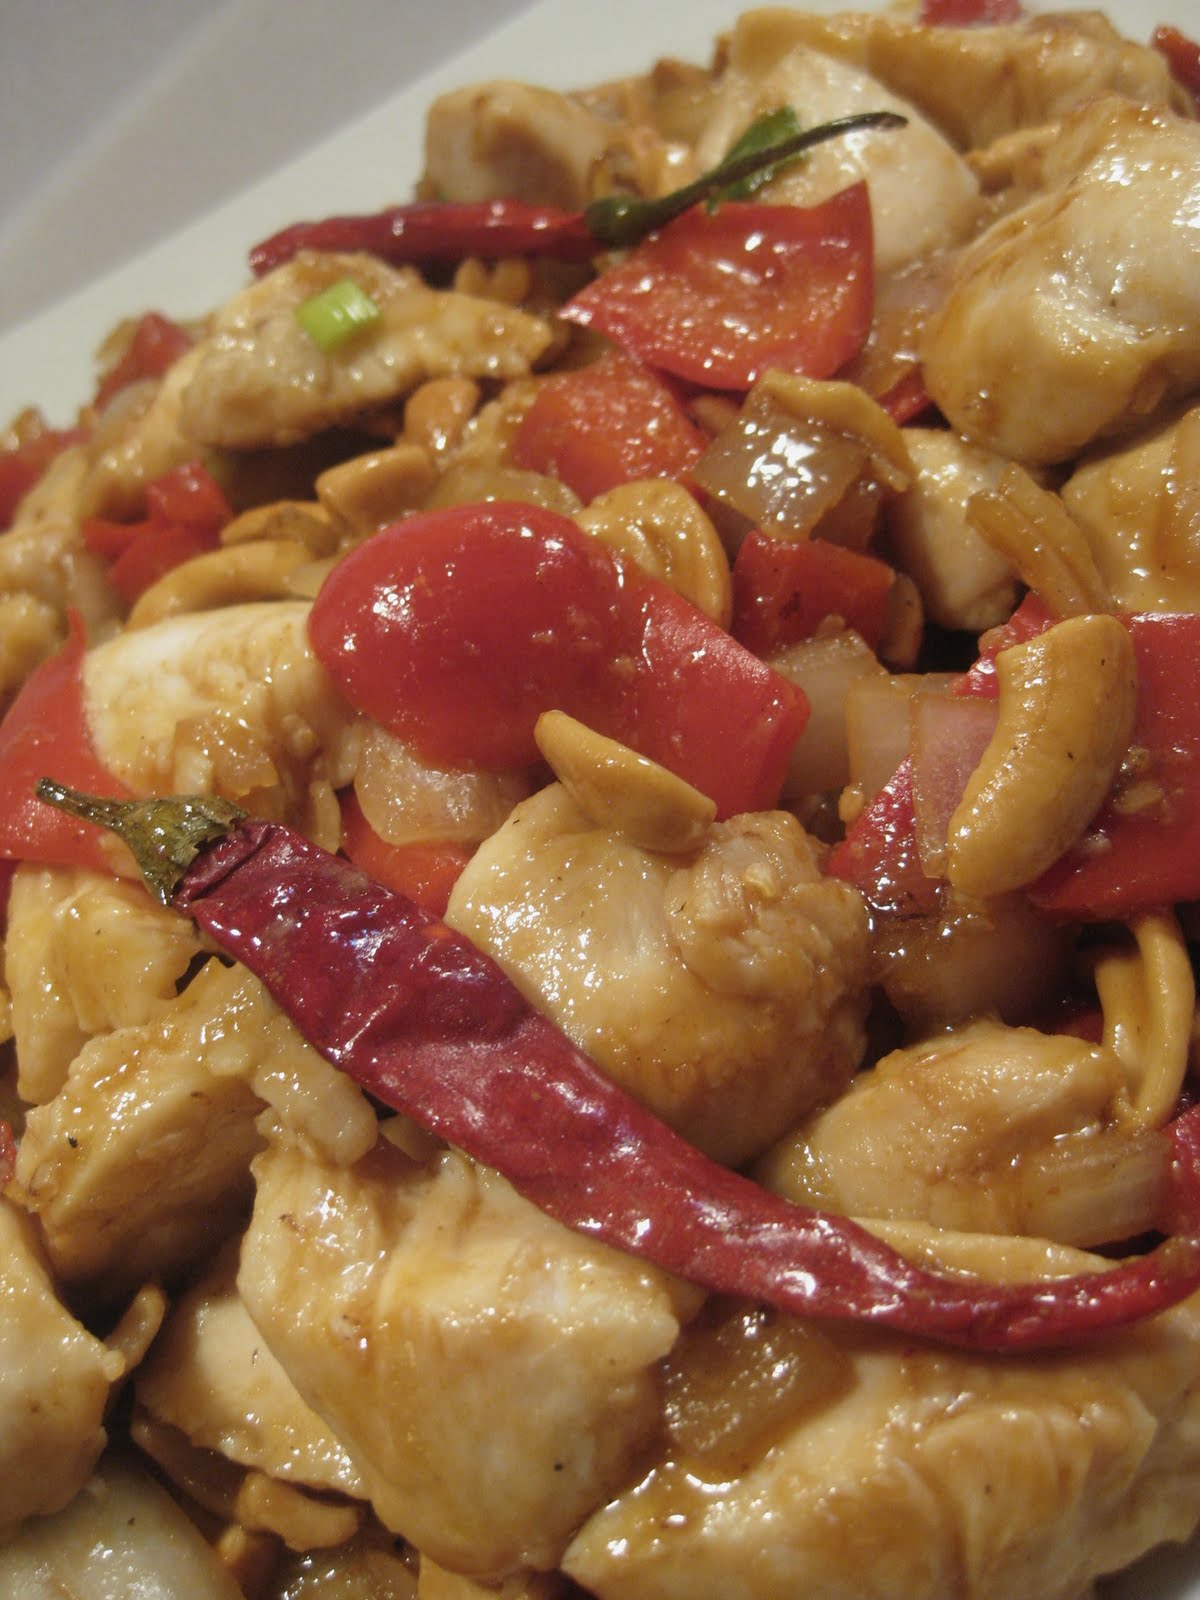
The Kung Pao sauce is from Ellie as well. I really enjoyed the flavors it provided. I will admit I was dubious that only an onion and a red bell pepper would be enough vegetables, much less enough variety, but I was very pleasantly surprised. The onions weren't overpowering, rather they were almost sweet. The red bells provided beautiful color and a sweet crunch. I chose to use cashews rather than the traditional peanut here because of a peanut allergy in the family. Feel free to use whatever nut you like.
Lastly lets talk about the heat, after all, what's Kung Pao with out some heat, right? I bought 4 small long thin dried hot chilies at my Mexican grocery, it cost me a whopping .03. Yes that's 3, three cents. I crumbled up 2 of the peppers into my sauce, the 3rd was broken into a few pieces and added to the stir fry. The last was pure garnish. A bit of Sriracha in the sauce and like magic, you've got Kung Pao chicken that will make you forget the name of that little Chinese place down the street.
Kung Pao chicken using water velveting techniquemakes 4 servingsYou will need:
1 lb chicken breasts or thighs, boneless & skinless, cut into 1 inch pieces
1 onion, diced
1 red bell pepper, cut in 1 inch dice
1-2 T oil
1 T minced garlic (+/- depending on taste)
1 T minced ginger (+/- depending on taste)
3-4 dried chilies or chili flakes
1/3 to 1/2 c cashews
Velveting Marinade1/2 tsp kosher salt or to taste
1 T white wine
1 egg white
1 T cornstarch
1 T oil
Kung Pao sauce 2-4 tsp Sriracha
6 T water(or stock)
2 T white wine
2 T sugar
4 T soy sauce
1 scallion sliced thin
Apply the velveting marinade.1. Sprinkle in the salt while stirring the meat.
2. Stir in the wine.
3. Add the egg white and gently mix to coat each piece of chicken making sure not to froth the egg.
4. Sprinkle in the cornstarch, coating each piece.
5. Add the oil and stir to coat. Let the meat marinate for 30 minutes.
 Prepare other ingredients:
While the chicken marinates, prepare the other ingredients and the sauce. Have them ready.
In a small bowl, mix together all of the ingredients for the sauce and set it aside.
Make rice if desired to serve with dish.
 Velveting the chicken: Using the water method.
Bring a pot of water with just one tablespoon oil to a boil.
Once the water boils, lower the heat to maintain a very gentle simmer.
Scatter in the marinated chicken, stir to separate and keep stirring gently until the coating turns white.
Remove the chicken pieces quickly with a slotted spoon or strainer.
Set the chicken aside.
 Prepare the Kung Pao:
Heat a cast iron skillet or wok over medium high heat. Once its hot add 1-2 T oil to the pan. Add the garlic and ginger, stir fry until its light brown, 30 seconds to 1 minute max. Add the vegetables, chilies and the velveted chicken. Stir fry 1-2 minutes, until the chicken is done. Add the sauce and nuts, stir to coat and thicken sauce, 30 seconds longer.
Transfer to a serving dish and enjoy!
 Nutrition Facts
 provided by SparkPeople recipe calculator
4 ServingsAmount Per Serving
Calories 393.1
Total Fat 20.1 g
Saturated Fat 2.7 g
Polyunsaturated Fat 4.8 g
Monounsaturated Fat 11.2 g
Cholesterol 68.4 mg
Sodium 799.6 mg
Potassium 541.7 mg
Total Carbohydrate 20.1 g
Dietary Fiber 1.9 g
Sugars 7.3 g
Protein 32.0 g
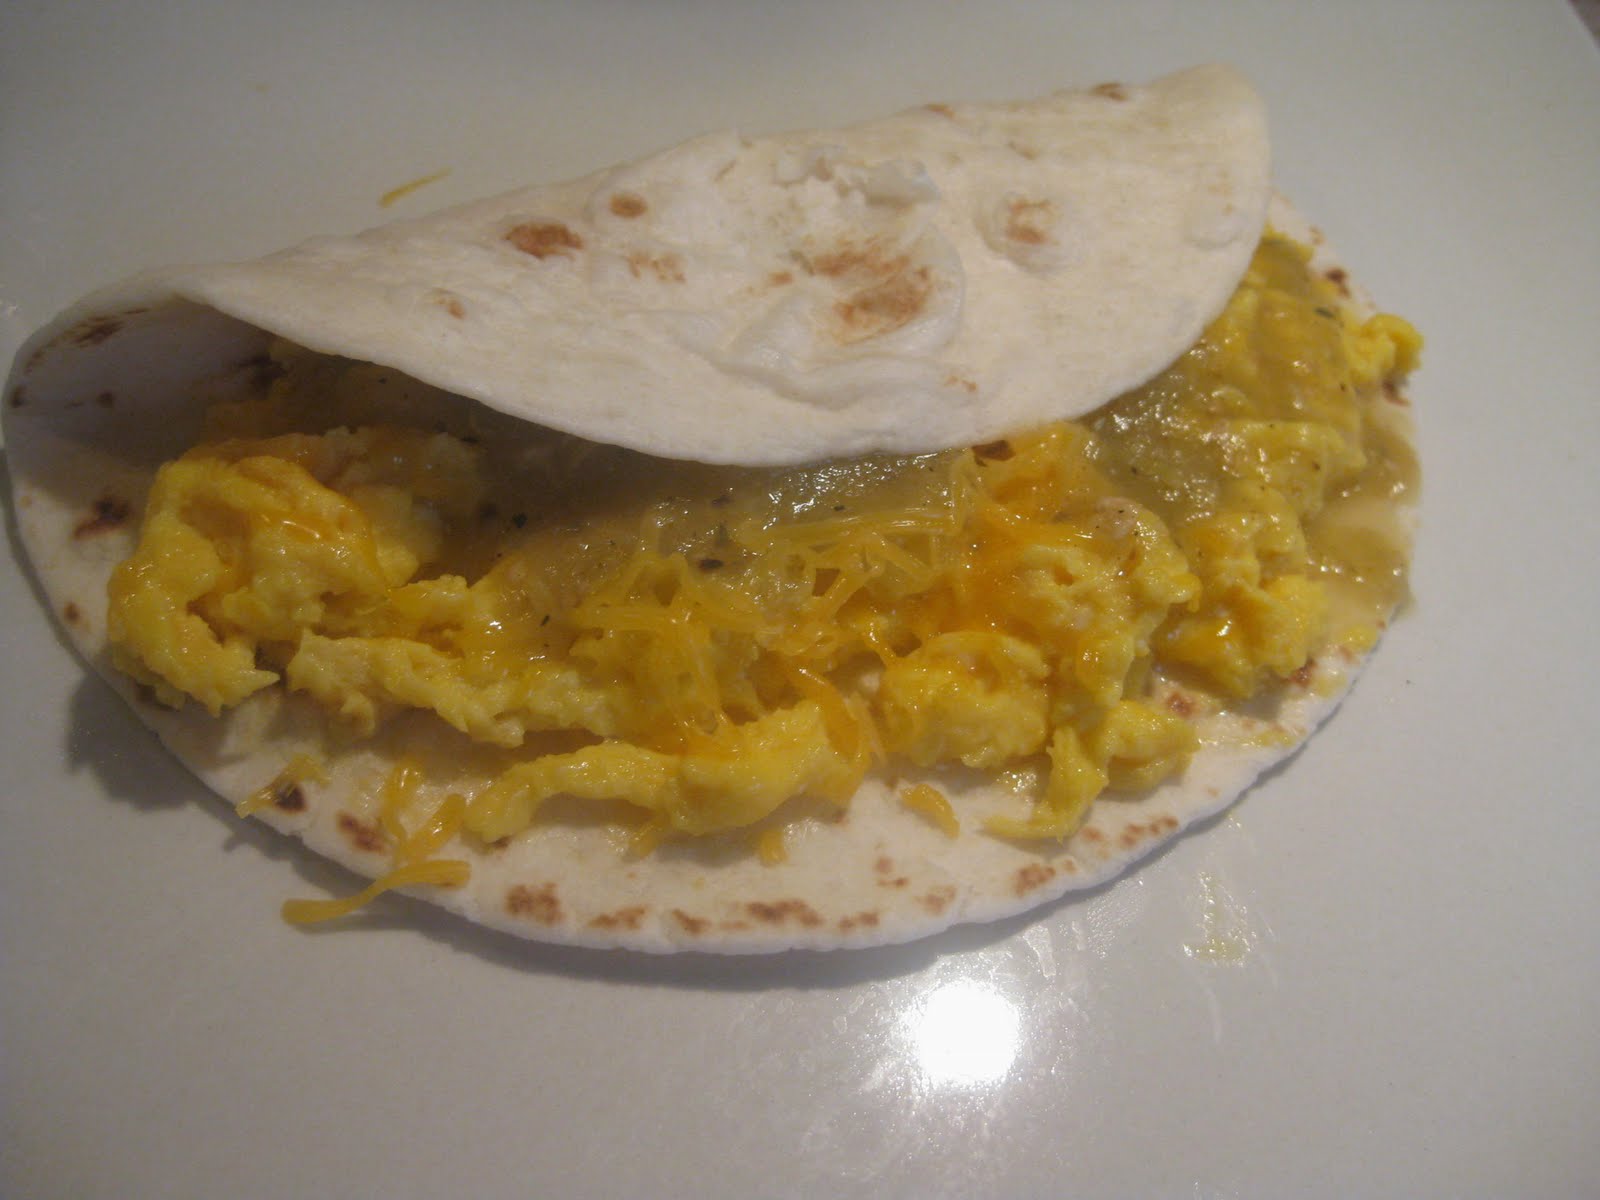
 This morning I was reminded by my wonderful Witchy Sissy to use my left over roasted tomatillo sauce with eggs. I complimented her on her cooking prowess and great suggestion, when she told me that she had just read my blog on chicken enchiladas with roasted tomatillo sauce and that I was the one who mentioned it, in the blog. LOL!